
voice ai
Chatbots vs voice agents: which is right?
A practical comparison of text chatbots and AI voice agents for business websites: where each one wins, what they cost to run and which to switch on first.
Read the guideHow it works
No model training, no data science, no rebuild of your website. You give it your material, you set the rules it works within, and you paste one line of HTML.
Setup
The parts that need thought are about your business, not about the technology.
A short onboarding form covers what you do, who you serve, your hours, and how you want the assistant to sound. It takes about twenty minutes and it's the single biggest factor in how good the result is.
You can come back and change any of it later.
Upload price lists, service descriptions, policies and FAQs as PDF, Word or plain text files, up to 15 MB each. You can also paste text straight in. Each document is split into passages and indexed so it can be searched by meaning as well as by keyword.
No crawling. It only ever knows what you gave it.
Give it a persona so the tone matches your business, custom rules for things it must always do, and restricted topics it must refuse outright. Pick the industry template closest to how you work.
Working days, opening hours, appointment length, how much notice you need, and how far ahead people can book. From those rules it computes genuinely free slots.
Copy one script tag from your dashboard and paste it into your site before the closing body tag. Your embed key is tied to the domains you list, so it only works on your own site.
Read the transcripts in the first couple of weeks. Almost every wrong answer traces back to something missing or ambiguous in your documents, and fixing it is a re-upload rather than an engineering task.
What happens to a question
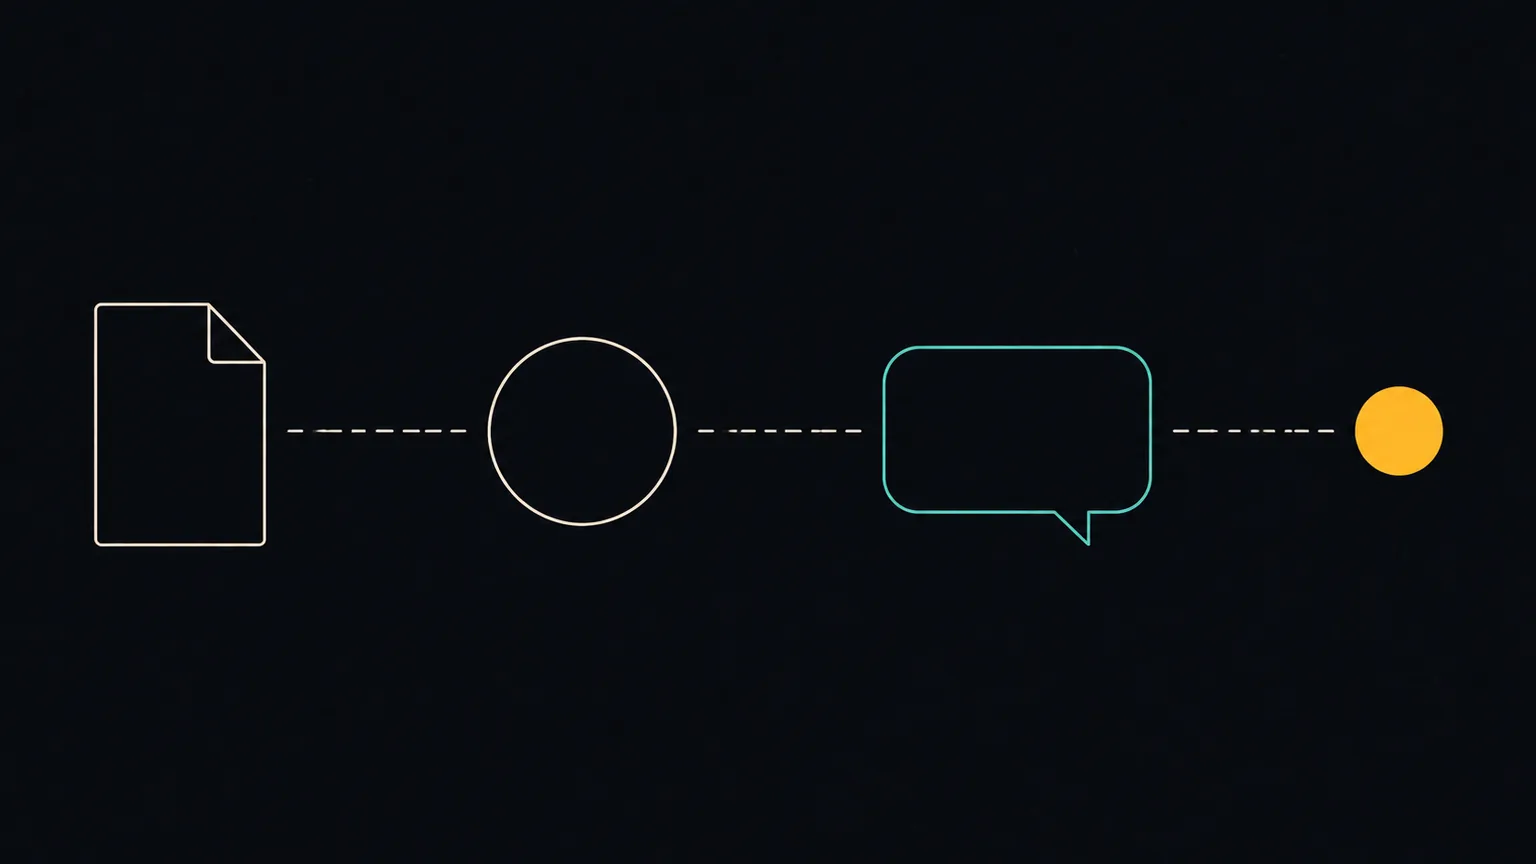
The assistant doesn't memorise your business. It looks things up, every single time, and writes the answer from what it found.
Under the hood
You never have to touch any of this. It's here because you should know what you're buying.
Your file is parsed and split into overlapping passages. Each passage is then turned into a numeric representation of its meaning. The overlap stops an answer from being cut in half at a chunk boundary.
A question is matched against those passages three ways at once: by meaning, by full-text search, and by plain keyword. Different methods fail differently, so combining them catches more.
The retrieved passages, your persona and rules, and the recent conversation are assembled into a single instruction. The model writes its answer from that material, not from whatever it happens to know.
For voice, the draft is compared against the retrieved passages and any number or name that isn't supported is blocked before audio is produced.
Installing
This is genuinely all of it. If you can edit a page in your site builder, you can do this.
Your client ID and embed key come from the dashboard. The key is hashed on our side and shown to you once. It only works on the domains you list, so someone copying it off your page can't use it on theirs.
<script
  src="https://getparlix.com/widget/widget-loader.js"
  data-client-id="YOUR_CLIENT_ID"
  data-api-base="https://getparlix.com/api"
  data-embed-key="YOUR_EMBED_KEY"
></script>
Your client ID and embed key are generated in your dashboard. The key is tied to the domains you allow, so it only works on your own site.
A screen recording of building an assistant from nothing: uploading documents, writing the guardrails, setting hours, installing the widget, and asking it the first real question.
From the blog
These practical guides cover the questions that usually appear while you are preparing your documents and first conversations.
voice ai
A practical comparison of text chatbots and AI voice agents for business websites: where each one wins, what they cost to run and which to switch on first.
Read the guideguides
Exactly where the script tag goes on WordPress, Wix, Squarespace, Shopify, Webflow and custom sites, plus what to prepare before you install anything.
Read the guideautomation
How businesses can handle after-hours enquiries, answer common questions and keep more appointment-ready visitors from leaving.
Read the guideFAQ
The technical part is quick: installing it takes one line of HTML. The real work is gathering your documents and deciding the guardrails, which most businesses do in a day or two. We set the account up for you rather than making you self-serve, so there's a short back-and-forth first.
Not currently. Every account is created by our team after a demo, so we can check the fit and get your setup right. Book a demo and we'll take it from there. There's no payment gateway either; billing is arranged directly.
Every account starts with a 14-day trial covering the chatbot. Voice and appointment booking are enabled on a paid plan. You'll get reminders as the trial nears its end, and nothing is charged automatically.
PDF, Word (.docx) and plain text, up to 15 MB each. You can also paste text directly into the dashboard and edit it later. Scanned PDFs without a text layer won't work because there's no OCR.
Edit the text in the dashboard, or upload a new version of the file and re-index it. You can also re-index everything at once after a big change.
Yes. You can talk to your assistant from the dashboard before you install the widget anywhere, which is the right time to find out that a policy document was ambiguous.
Bring a price list and the five questions you get asked most. That's enough to see whether this works for you.